General Overview
The SelfCare is an online merchant portal. It allows you to securely process and control transactions.
The SelfCare comes with many options and features and can be configured to suit your needs and your business requirements. Its Flat User Interface is based on most modern techniques and it has been created to be very user-friendly, clear and fast. Finally, the SelfCare is a powerful reporting tool and can be used for a vast number of reporting needs: from finding a single transaction to exporting a large data file based on customized criteria.
Accessing the System
Loging In
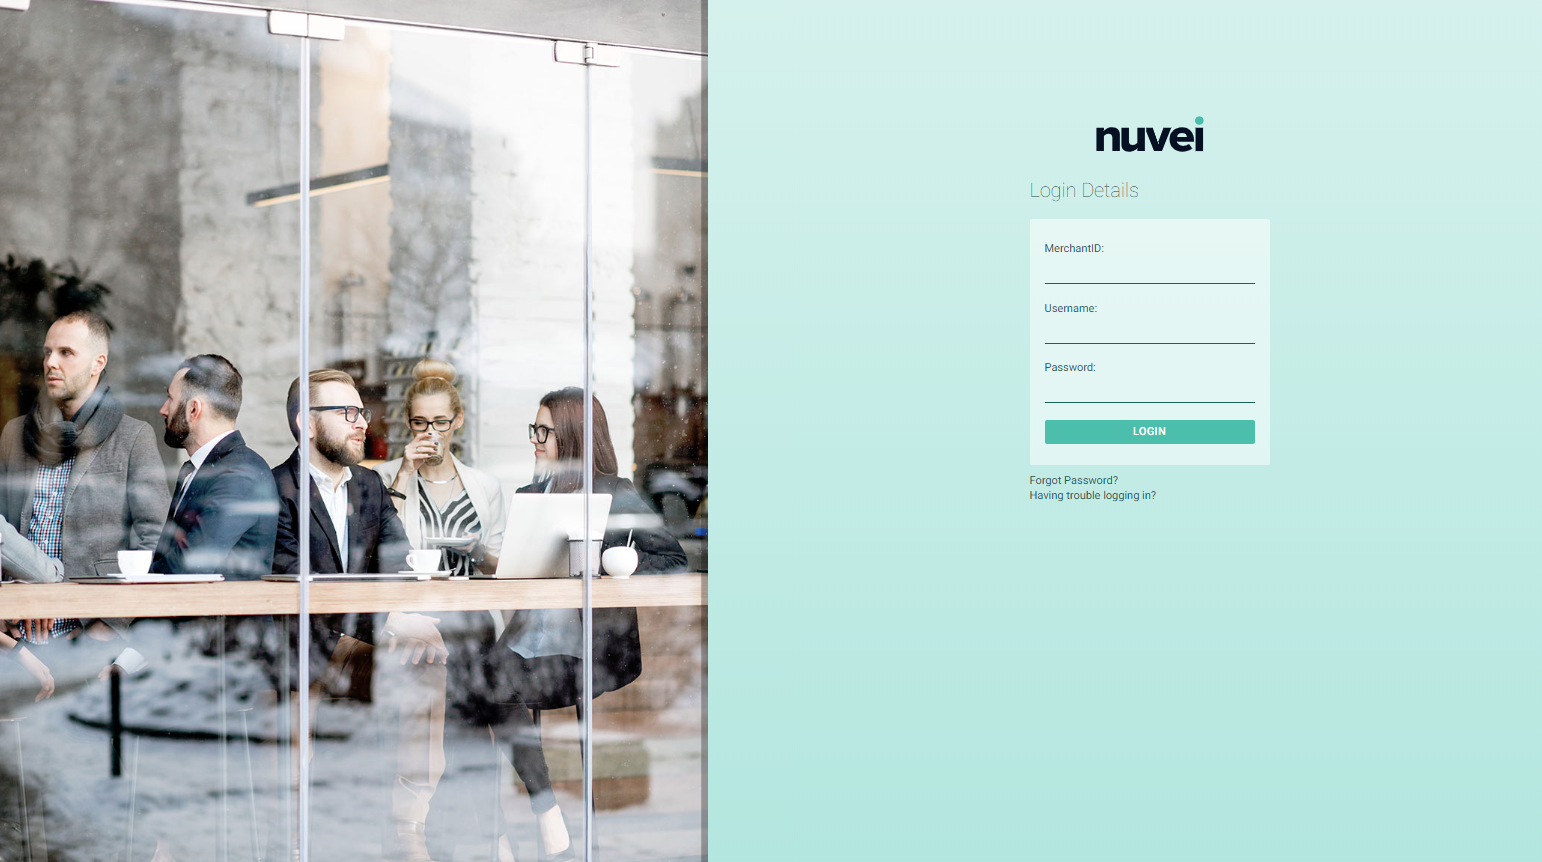
When accessing the Merchant portal, you have to pass the authorization on the SelfCare Login page first.
At this point, you are going to enter your Credentials (Merchant ID, Username and Password), then click on “Login” button.
Sample Login Page window:
After successful authorization, you will be forwarded to the SelfCare Portal.
If wrong credentials are entered, the system will display a corresponding message along with the count of allowed attempts.
If the number of allowed login attempts is exceeded, your account will be locked with a clarification message, so be careful! To unlock you are going to need the help of your System Administrator, or Contact our Support Team.
If you do not remember your password, use 'Forgot Password' link.
Loging Out
Once logged you can be logged out by basically two mechanisms:
Session Timeout
Our solution has a timeout configuration applied to all of its users, once logged. This timeout is used to “expire” your user's session and log it out, if after the defined time, your user didn't perform any action on the portal. This avoids resource allocation for users which are not in active use of the system.
Manual Logout
This is possible when the user desires to finish its interaction with the system, by purposely clicking on a “Logout” link. Options are available at the top right side of the portal, when clicking in your user name, and at the end of the left vertical menu.
Terminal Selector
At the superior, left corner of the portal you can find it: a drop down menu. This element allows a user to operate different terminal, as long as the user has access to more than one of them, if the merchant has more than one terminal.
Each terminal is going to be represented by two data: the terminal number and its currency.
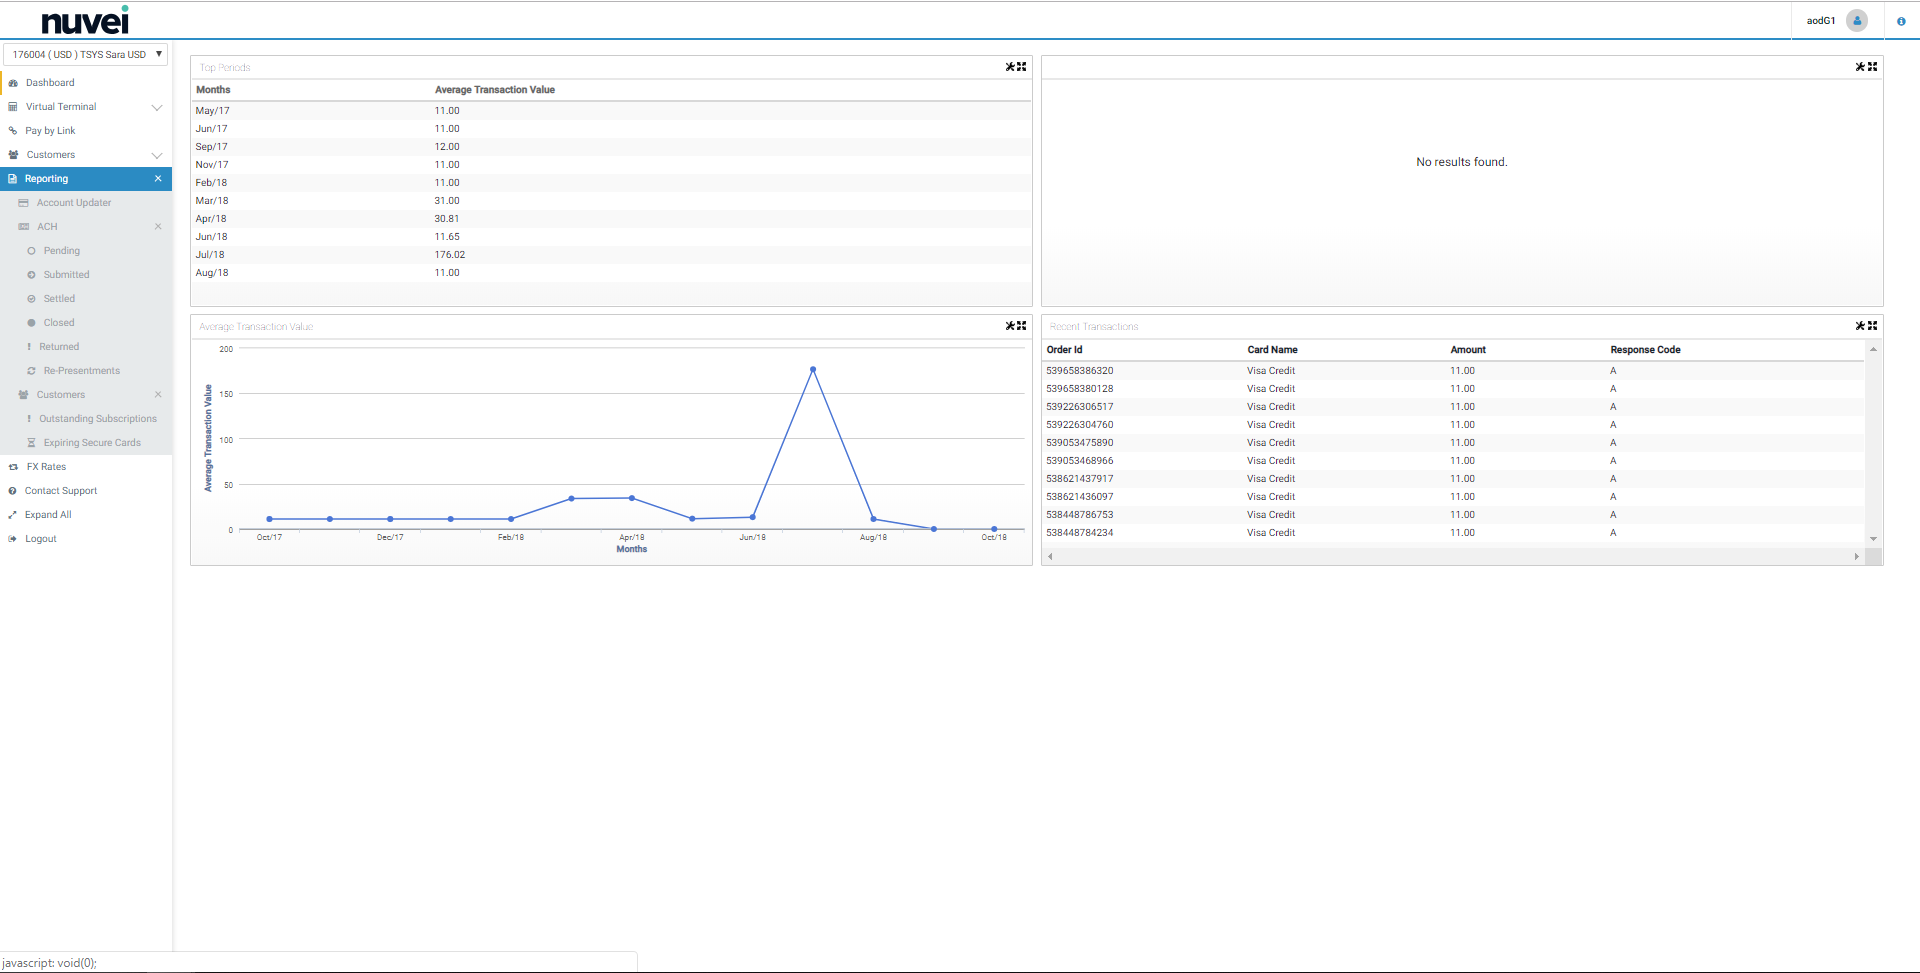
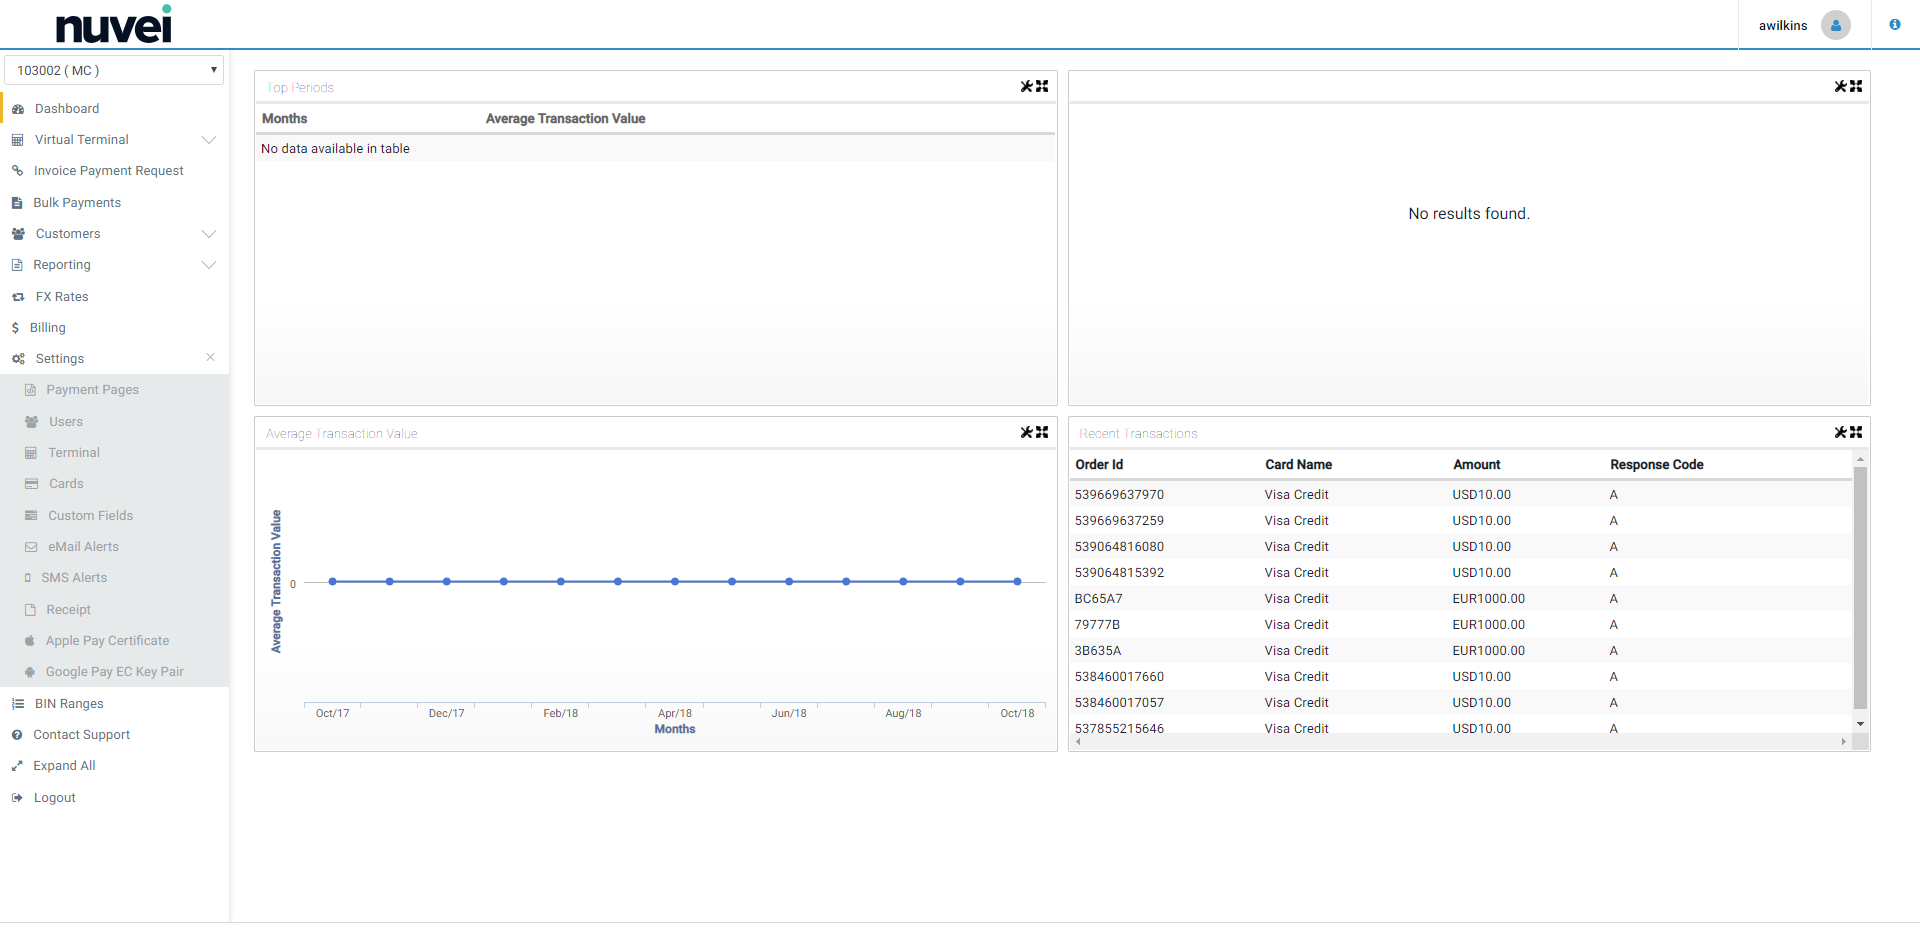
Dashboards
The Nuvei “DASHBOARD” allows users to visualise their payments' statistics in a very user-friendly way. It is comprised of 4 panes, each of which has a defined presentation type and purpose, but each can be customised to display information about specific types of transactions, etc. To customise the data being visualised on each pane, you should click the spanner icon in the top right of the pane.
Sample Dashboard window:
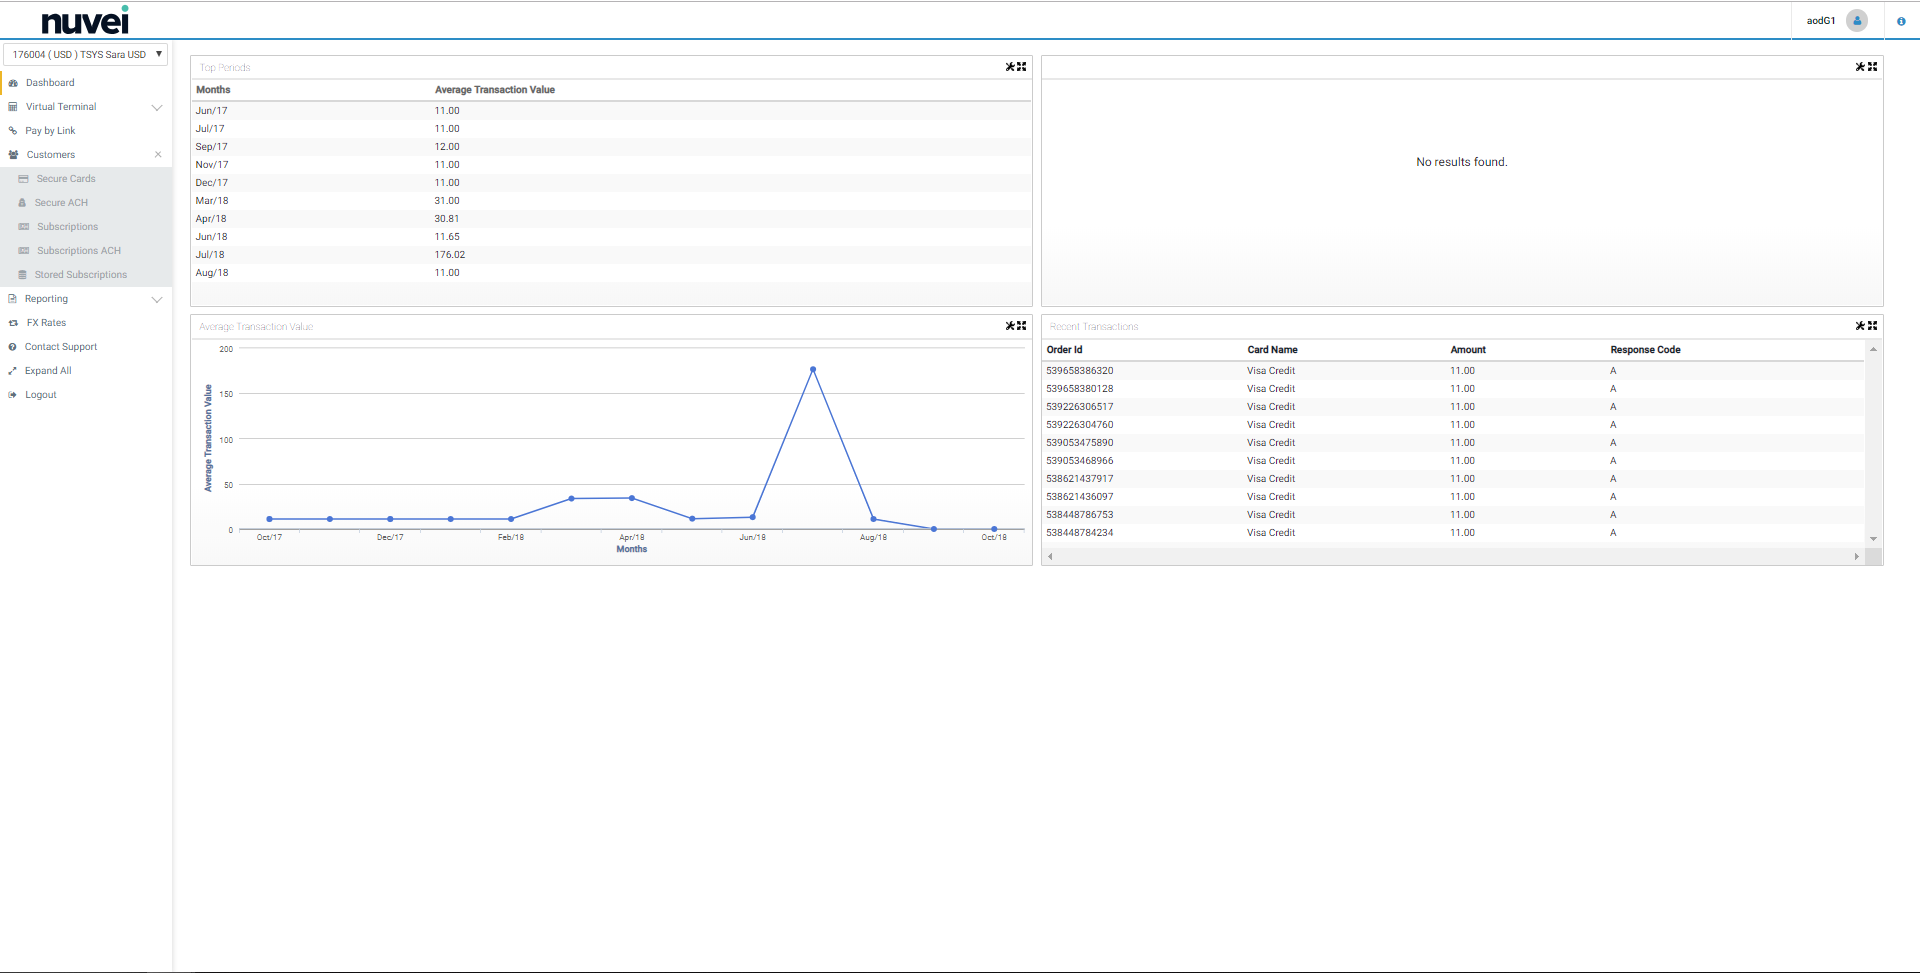
The four panes are:
- Top Periods – this displays your top periods (months, weeks, days or even hours). You can choose between the same three metrics as the graph pane and you can also filter by status.
- The Pie Chart – the pie chart is used to visualise your card type distribution, operator throughput or transaction results. It can be filtered by transaction status also, and can be limited to defined date ranges.
- Average Transaction – this pane displays ATV, Transaction Count or Total Transaction Value in a timeline. The date ranges, card types, operator and many different transaction types can be filtered.
- Recent Transactions – this pane shows live details about transactions as they are processed. It polls our server every few seconds and so there's no need to refresh the page, the transactions will simply appear here. The columns can be customised to display different fields of the transactions.
Virtual Terminal
The Virtual Terminal provides merchants with the ability to execute manual card transactions. This is especially useful in a Mail Order / Telephone Order (MOTO) environment. The Virtual Terminal is accessible directly from the main menu.
Sample Virtual Terminal window:
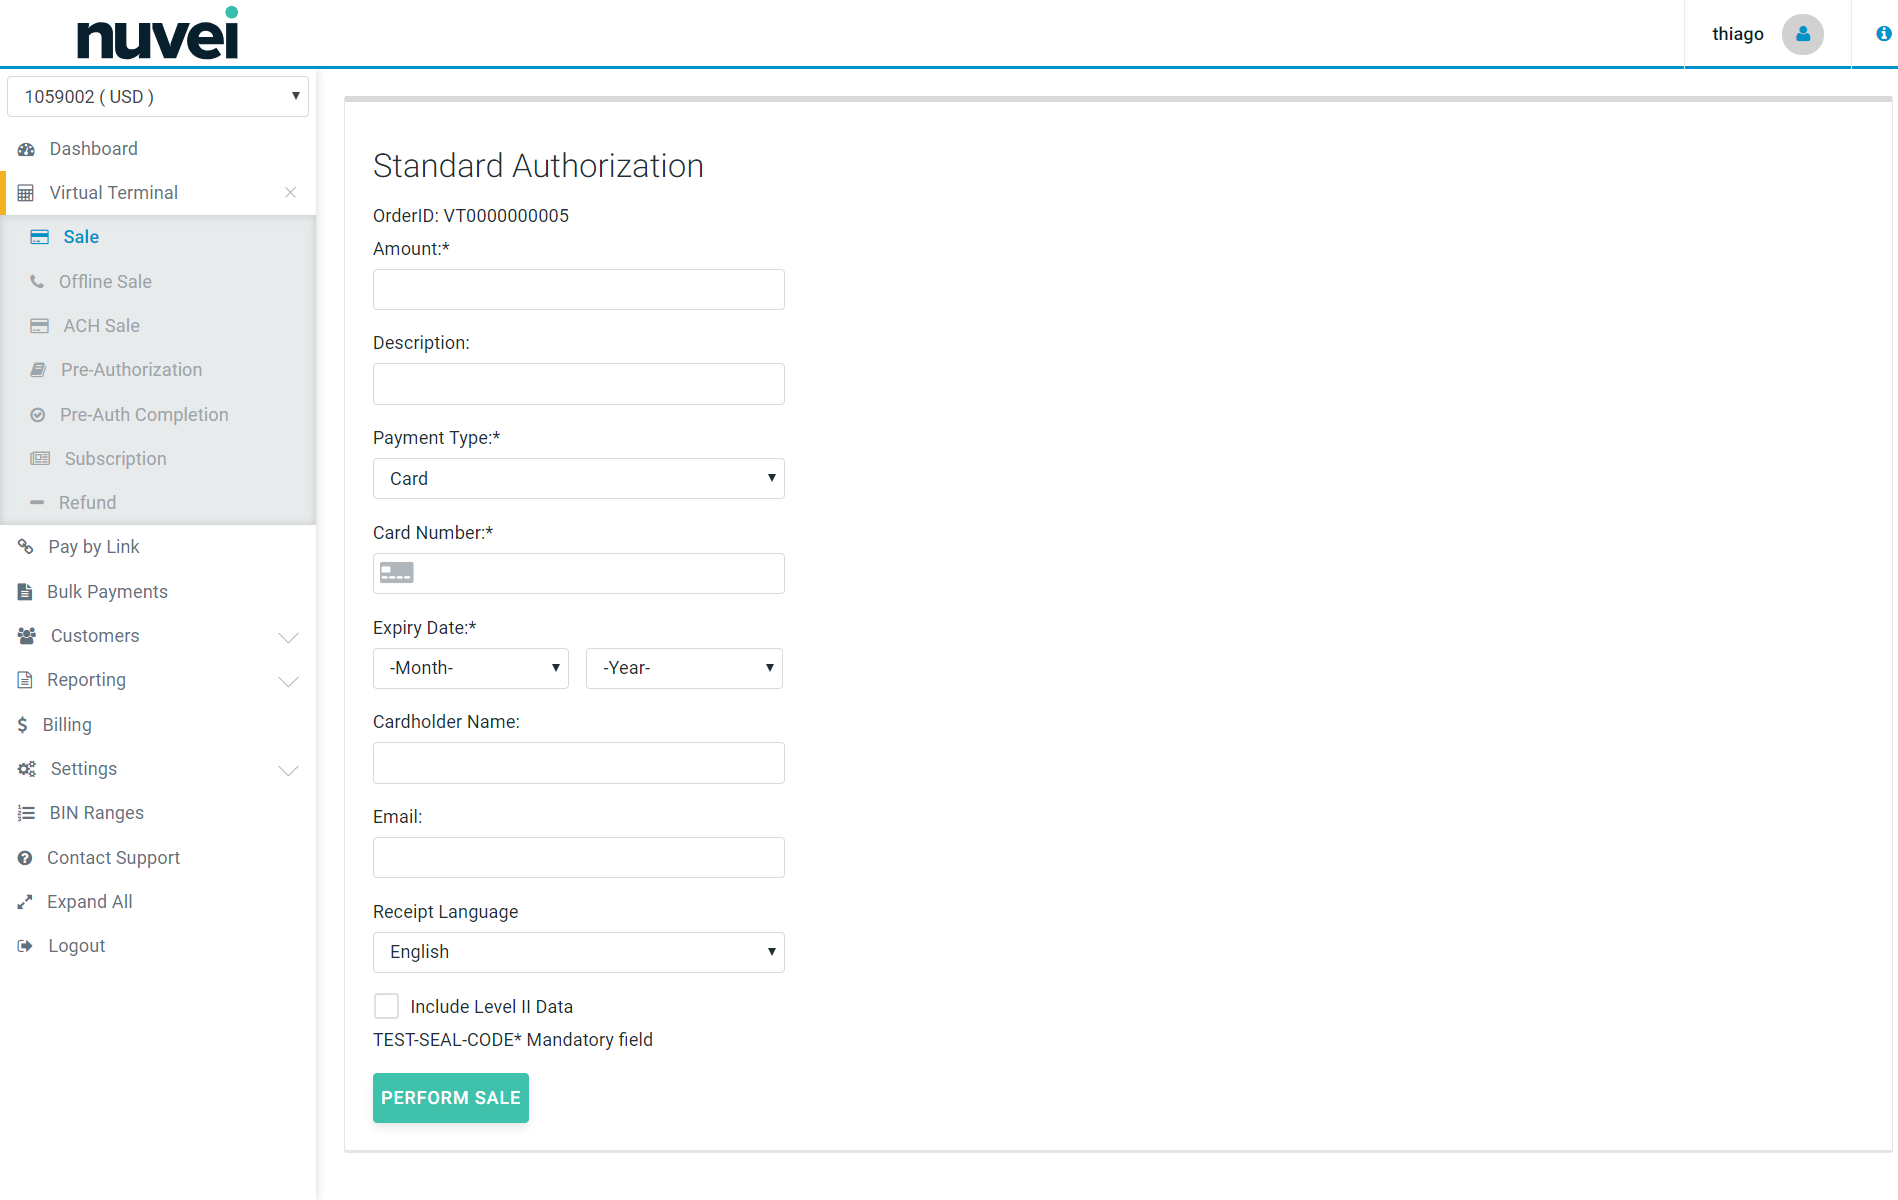
Based on your merchant account with Nuvei and your user permissions, you can have access to the following forms:
- Sale - standard sale authorization form.
- Pre-Authorization - standard pre-authorization form.
- Pre-Auth Completion - the form to complete an existing pre-authorization.
- Subscription - the form for manual subscription processing.
- Refund - the form to process a refund if you know a transaction's Order ID.
Bulk Payments
The “Bulk Payments” tab in the SelfCare presents the merchants with the possibility of loading a group of payments at once instead of traditional individual payment processing. This is an alternative for Merchants with specificas
eInvoice
The “Invoice Payment Request” tab in the SelfCare presents the eInvoice feature, designed to allow merchant to create and send links to their customers which allows these customers to perform payments at a hosted payment page (HPP).
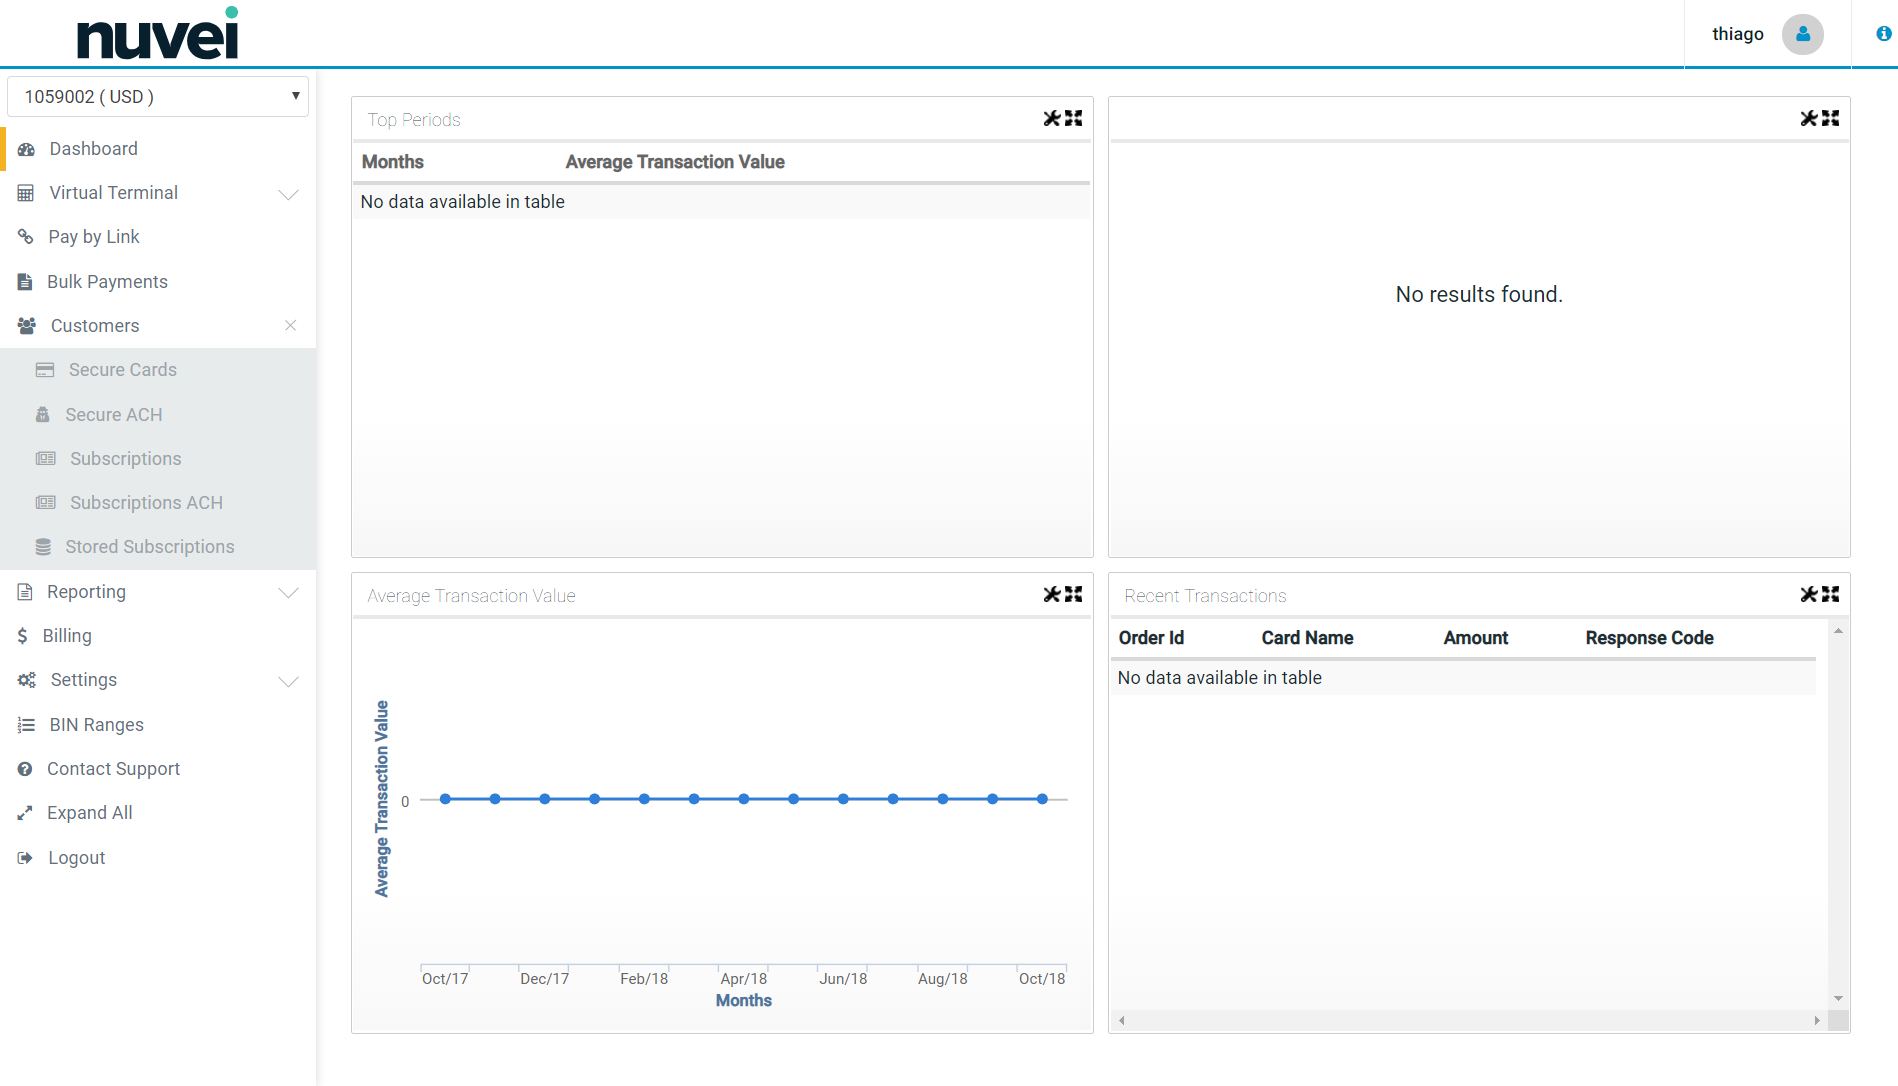
Customers
The “Customers” tab in the SelfCare contains “Secure Tokens”, “Subscriptions” and “Stored Subscriptions” sections in the drop down menu.
Sample Customers window:
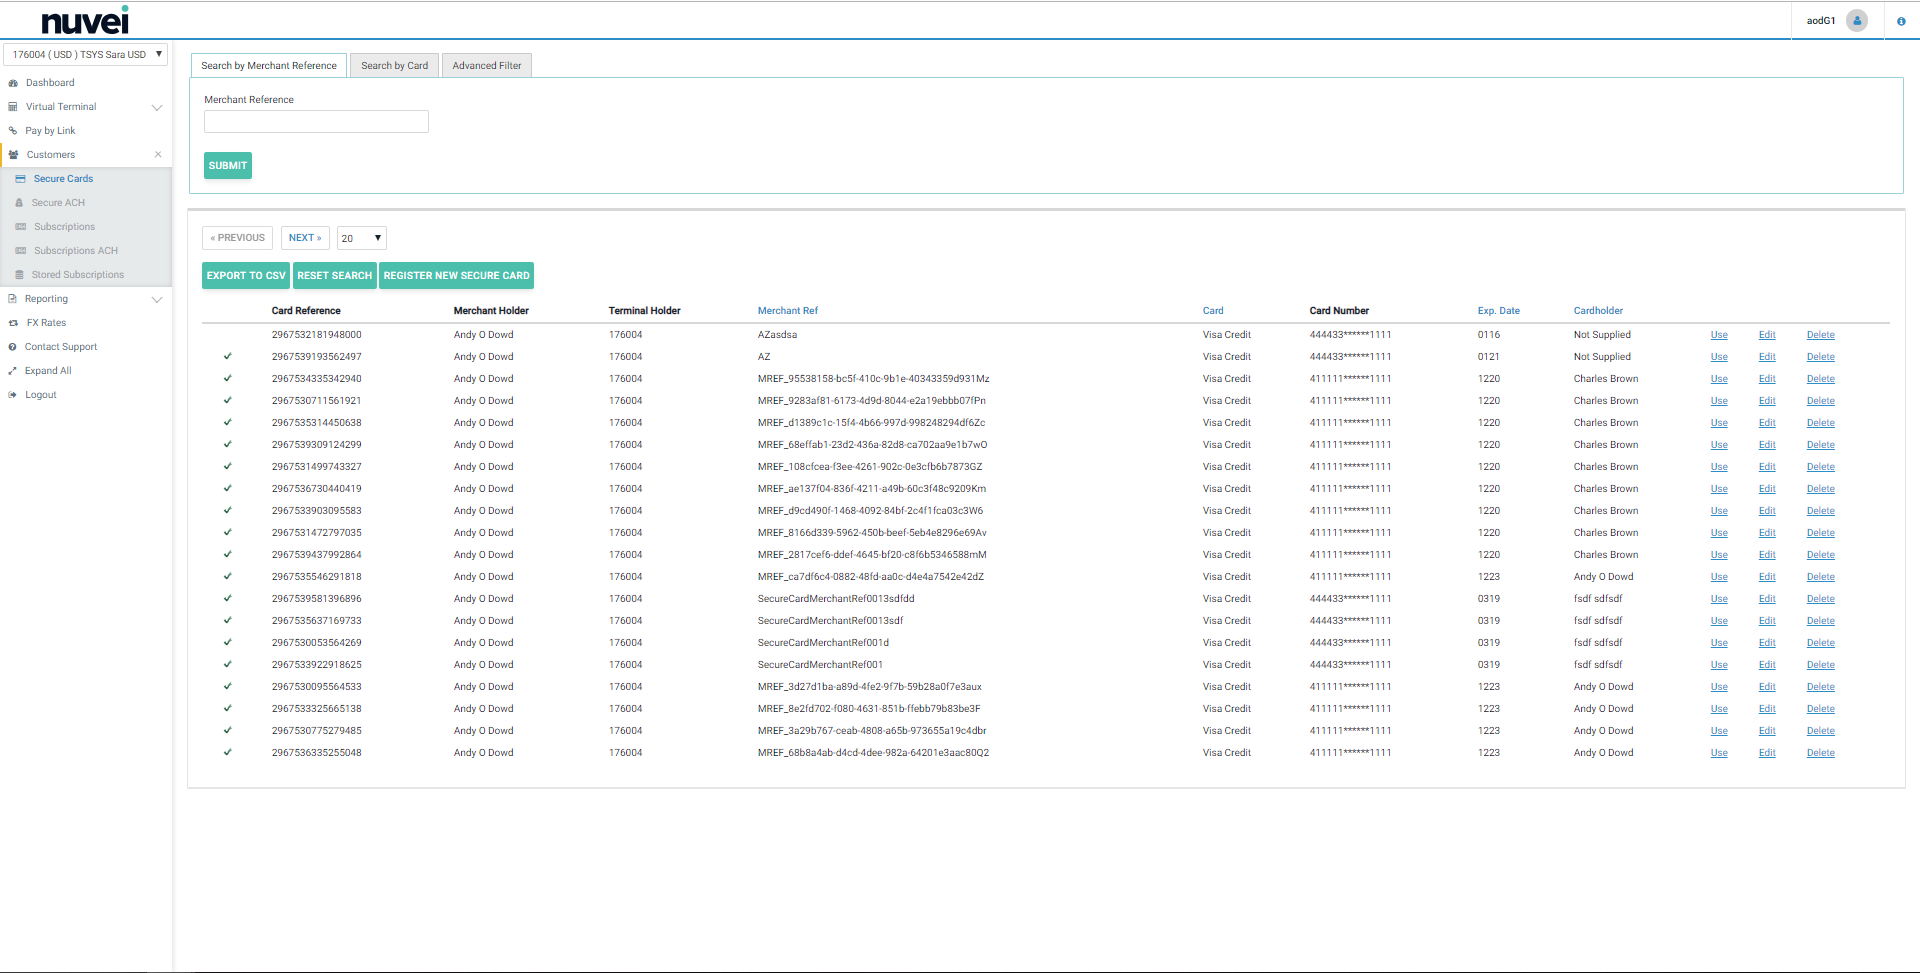
Secure Tokens
Secure Token Storage is useful for merchants who are required to perform regular payments without the card holder entering their information. Secure Tokens facility enables merchants to enter the payment card details and store it in a secure way, in order to use it in the future for reoccurring payments. Secure Token Registration is necessary to be able to set up a Subscription for regular payments. Please note that only PCI-DSS certified merchants are allowed to store card details.
Sample Secure Tokens window:
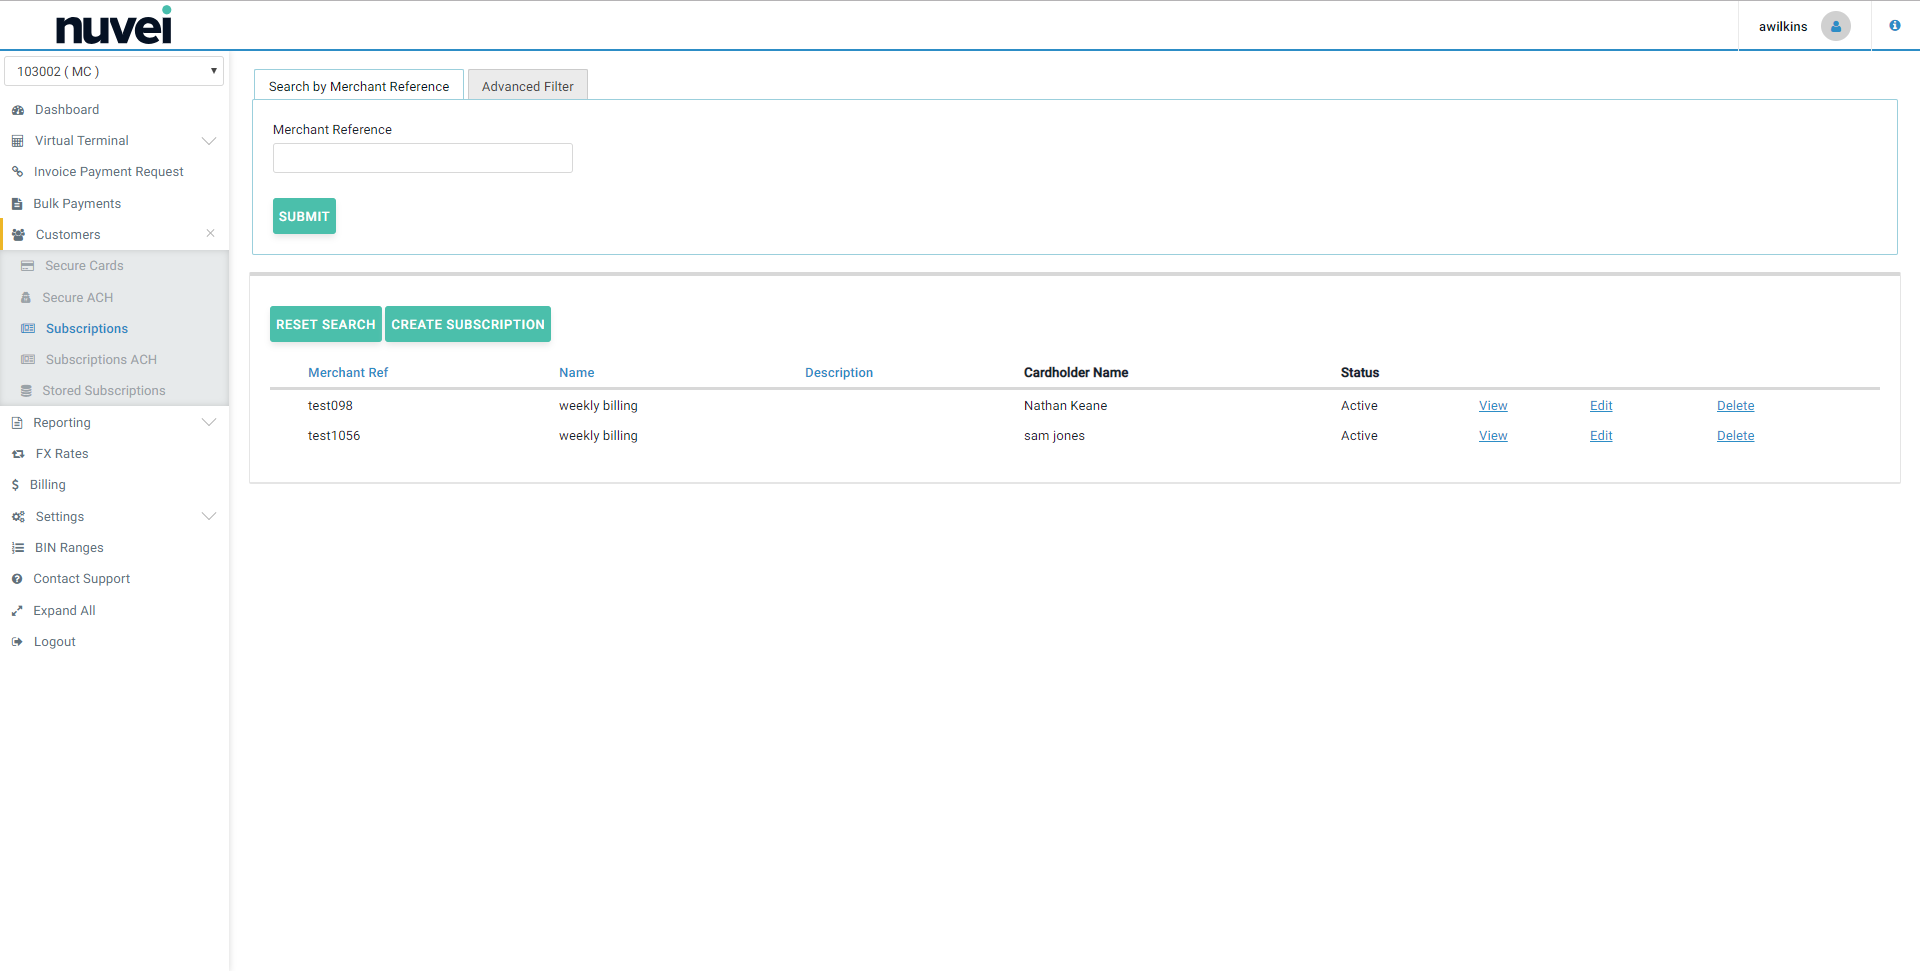
Subscriptions
In order to be able to set up a Subscription, it is necessary to set up a Secure Token and a Stored Subscription first. Subscriptions are useful for merchants who are required to perform regular and reoccurring payments. It allows to make those payments automatically on set date at regular intervals for a set period of time, without manual intervention. Manual payments are also possible, if needed.
If you would like to set up a a new subscription, go to “Subscriptions” in the drop down menu. All the previously registered subscriptions are listed in this section, and you can view their details. You can also search for subscriptions by “Merchant reference” or by other criteria in the
Advanced filter
Before you will be able to create a new subscription, you need to save a subscription template in the Stored Subscriptions section.
Sample Subscriptions window:
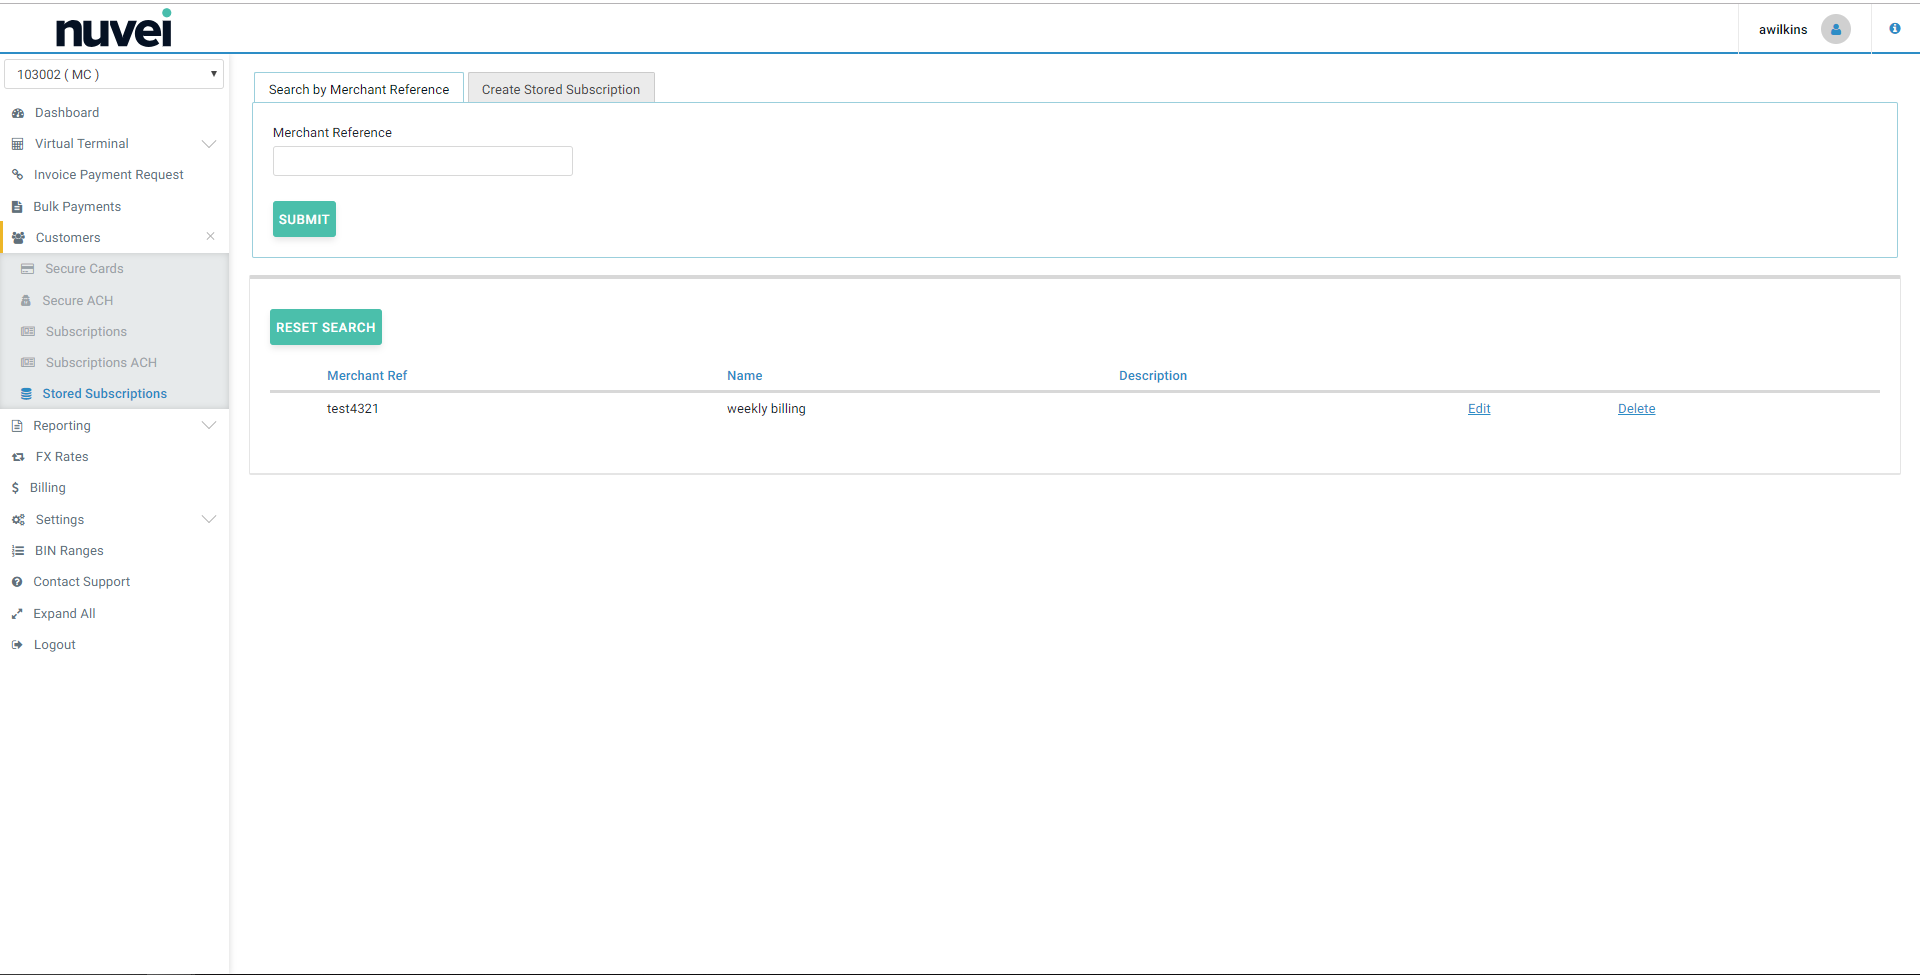
Stored Suscriptions
In order to be able to set up a subscription, it is necessary to set up a Secure Token and a Stored Subscription first. Before you will be able to create a new subscription, you need to save a subscription template in the Stored Subscriptions section.
Sample Stored Subscriptions window:
Reporting
Transaction details can be viewed and managed under the “REPORTING” tab in the SelfCare .
It consists of “Open Batch” (i.e. unsettled transactions section), “Closed Batch” (i.e. settled transactions) and “Customers” section.
Sample Report window:
Full details on the reporting functionality can be found Here.
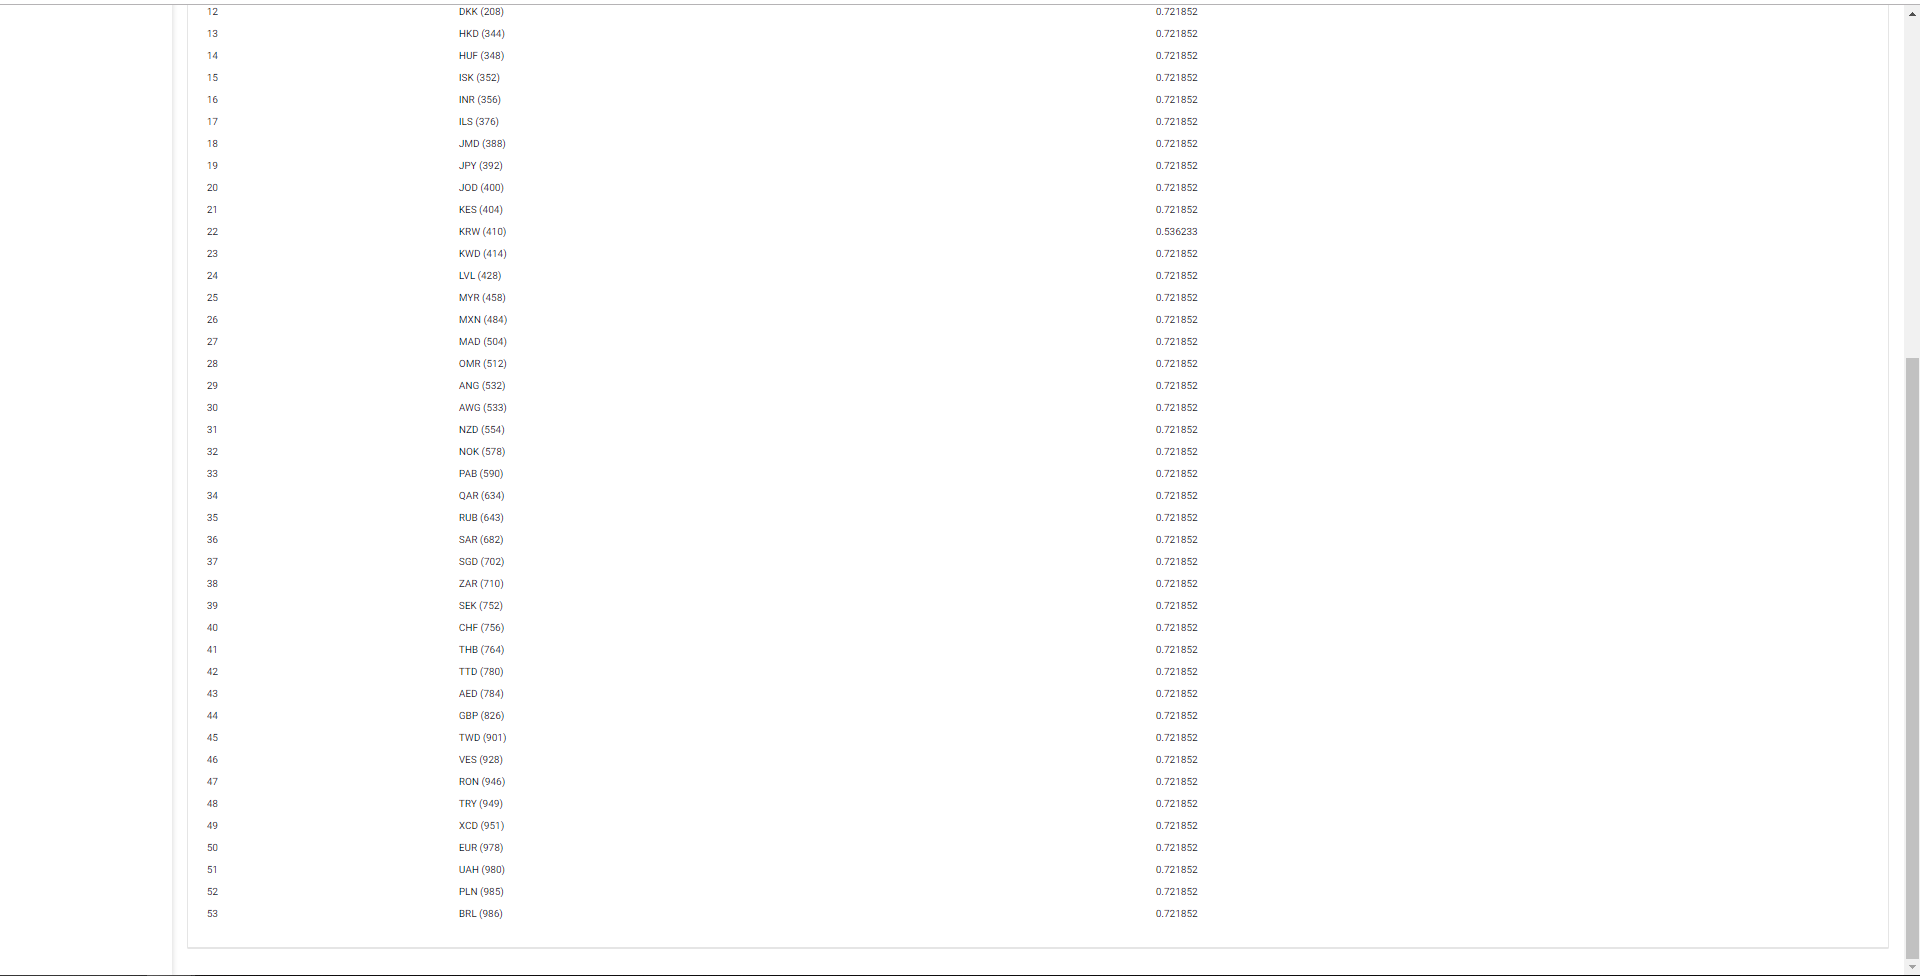
FX Rates
You can find the foreign exchange rates in the “FX RATES” tab in the SelfCare , as per the screenshots below.
In Finance, an exchange rate (also known as a foreign-exchange rate, forex rate, FX rate) between two currencies is the rate at which one currency will be exchanged for another. It is also regarded as the value of one country's currency in terms of another currency.
Put the amount in Euro in the field, and choose the currency you wish to convert this amount into from the drop down menu - it will show the converted amount in the chosen currency.
Sample FX Rates window:
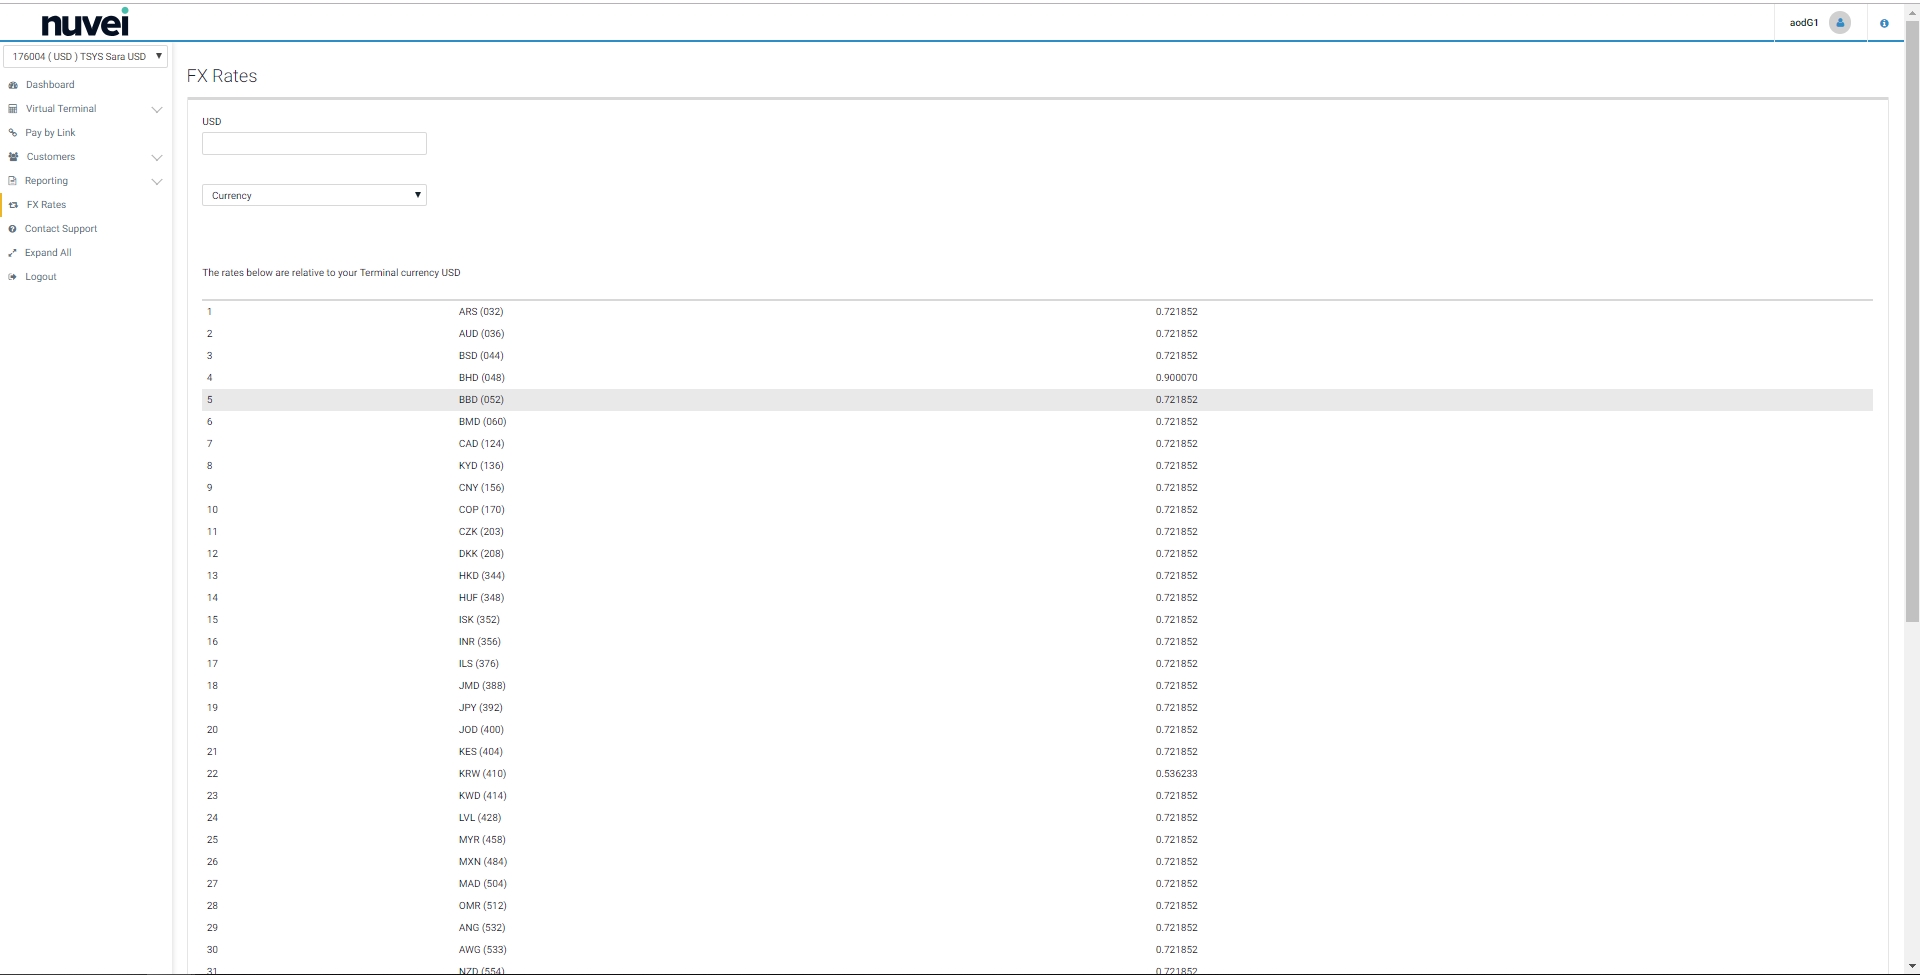
Sample FX Rates window:
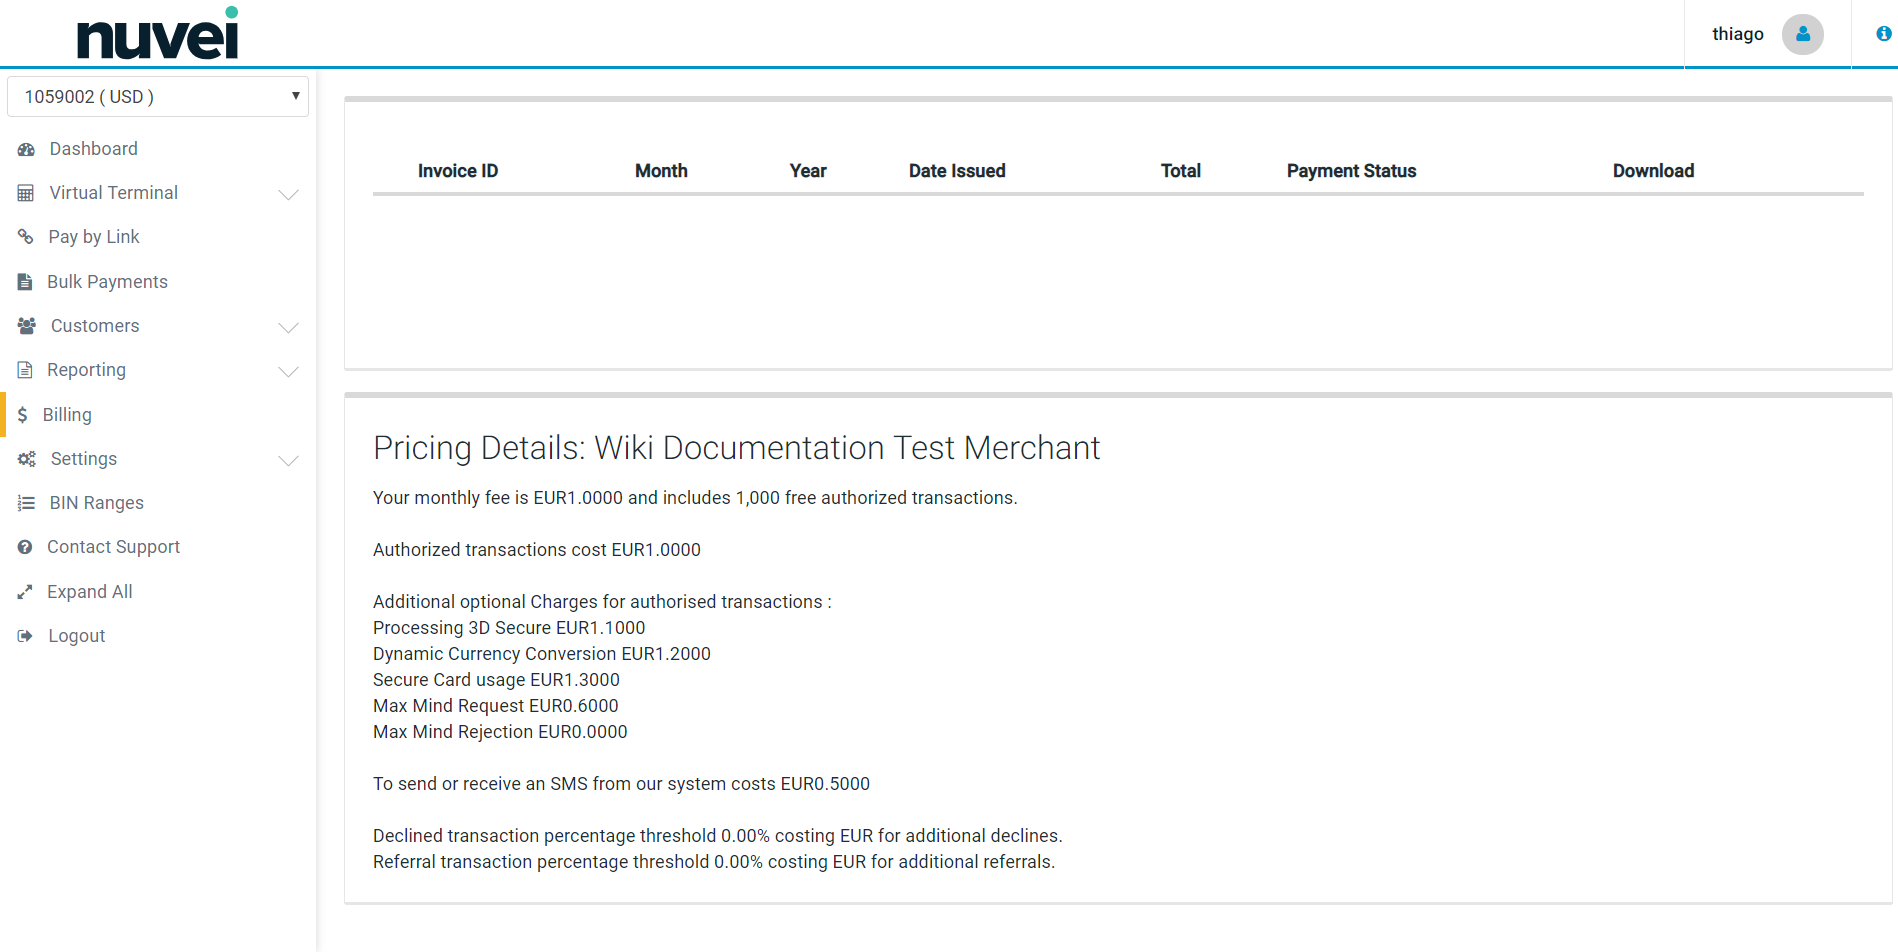
Billing
The BILLING tab in the SelfCare contains information about the merchants' invoices to Nuvei.
Monthly invoices can be downloaded from the Billing section, (however this section is only available to the users who have the Allow Billing permissions)
The page table contains the following columns:
- Invoice ID – Invoice identifier
- Month – Invoice month
- Year – Invoice year
- Date Issued – Invoice date
- Total – Total amount
- Payment Status
Payment Status can be one of the following:
- Not Paid - Invoice was not paid yet
- Paid
- DD Record Created – Direct Debit record which was generated for the invoice
- Download - Clicking on this link will start the invoice download
Sample Billing window:
Settings
Under the “SETTINGS” tab in the SelfCare , you can find the following sections in the drop-down menu:
- Pay Pages - to view the hosted payment page layout template options.
- Users - to view the current users who have the access to your merchant account. With the correct permissions level, the current user can delete other current users or add New Users.
- Terminal - to view and modify some of the virtual terminal (VT) settings that best accommodate your business practices.
- Cards - to view the Payment Cards which are enabled on your terminal, as well as the list of Gateway cards in the CARDS section.
- Custom Fields - include: Field Name, Size, Display Order, mandatory flag and links to delete/edit the field.
- Email Alerts - to be notified when specific events occur in their payment processing system.
- SMS Alerts - to be notified when specific events occur in their payment processing system.
- Receipt - Select Receipt to add a receipt disclaimer (currently available for Virtual Terminal).
Sample Settings window:
BIN Ranges
BIN is the Bank Identification Number and it is used by online merchants as a way to detect fraud.
By using the first 6 digits of a debit/credit card you can identify the location of the bank that issued the card and the specific name of the bank.
Contact Support
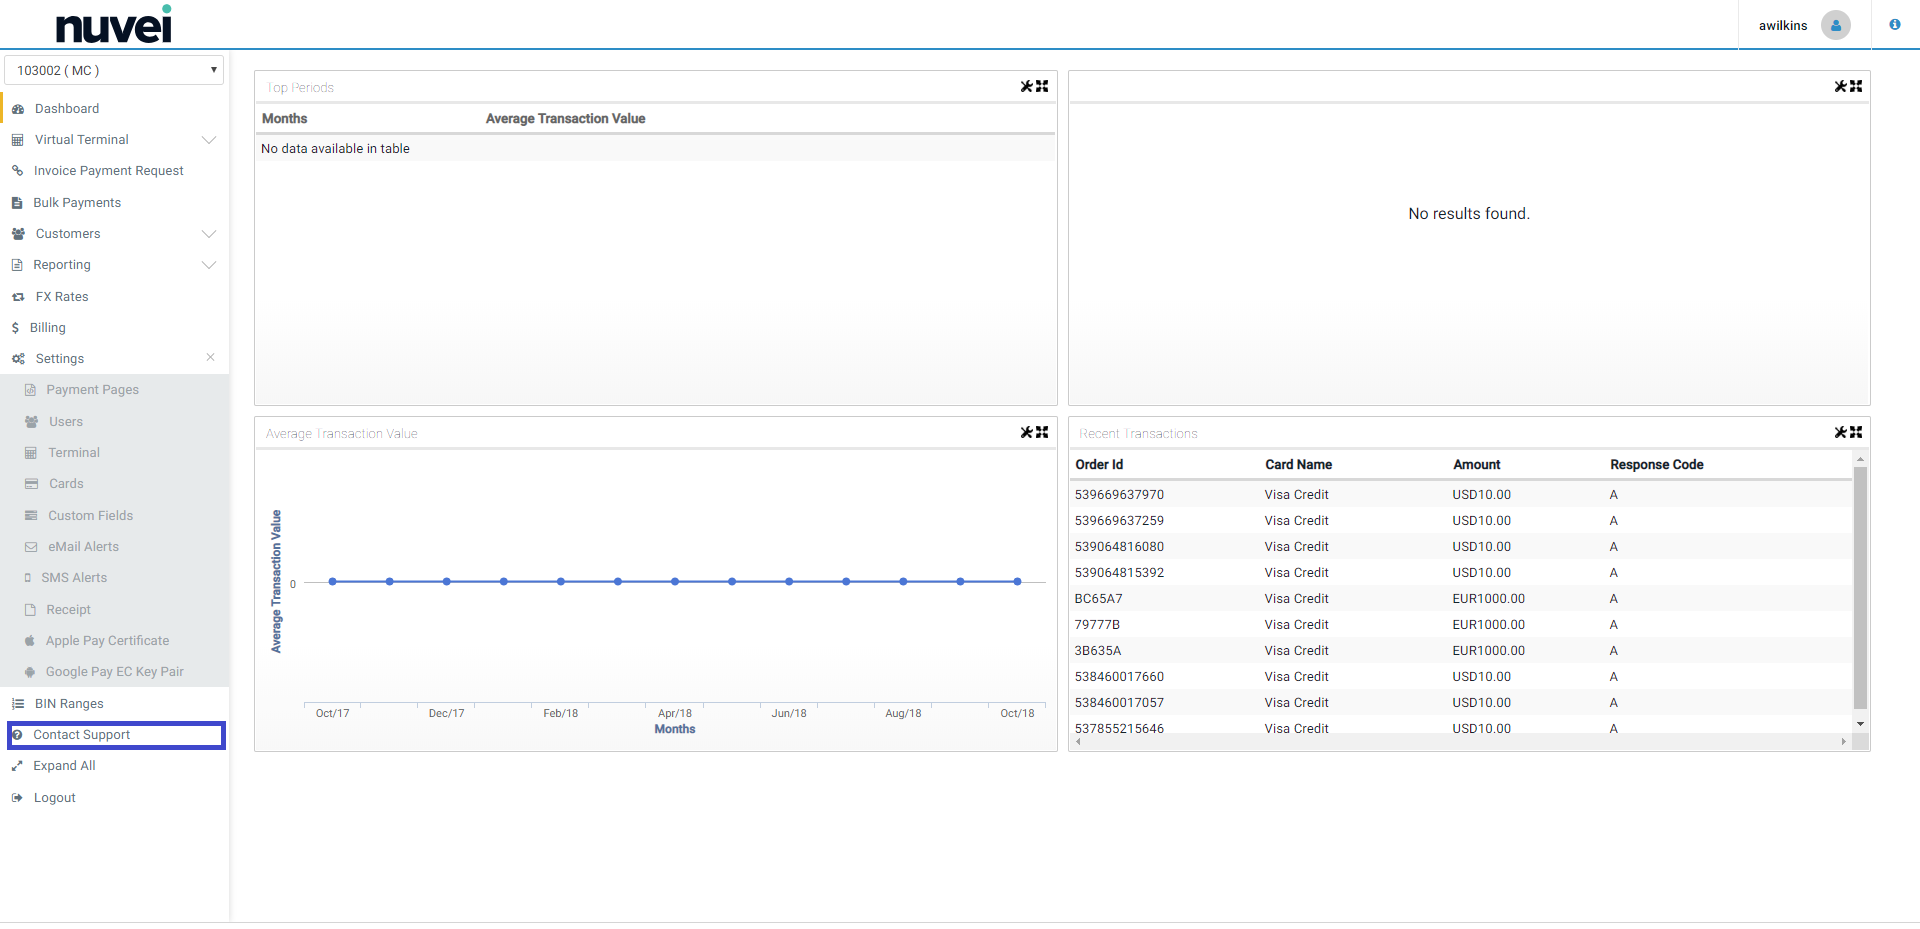
If you have any issues or queries in regards to your payments system or on how to use the SelfCare , our dedicated Nuvei Customer Support Team will be happy to help you.
You can contact us via your SelfCare . Just click on the “Contact Support” tab:
Sample Contact Support window:
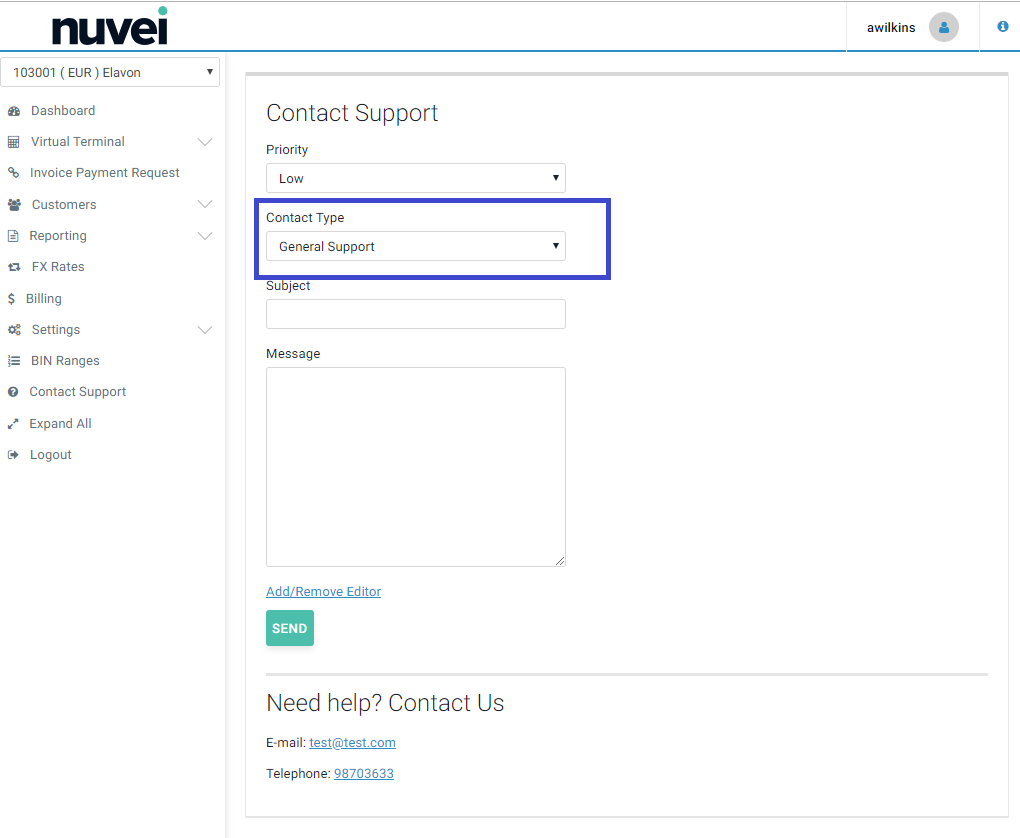
Then you will be directed to the Contact Support Message page. You can choose the priority - how urgent your query is; you can also choose the type of the query: “General Support, Transaction Query, Bug Report or Other”.
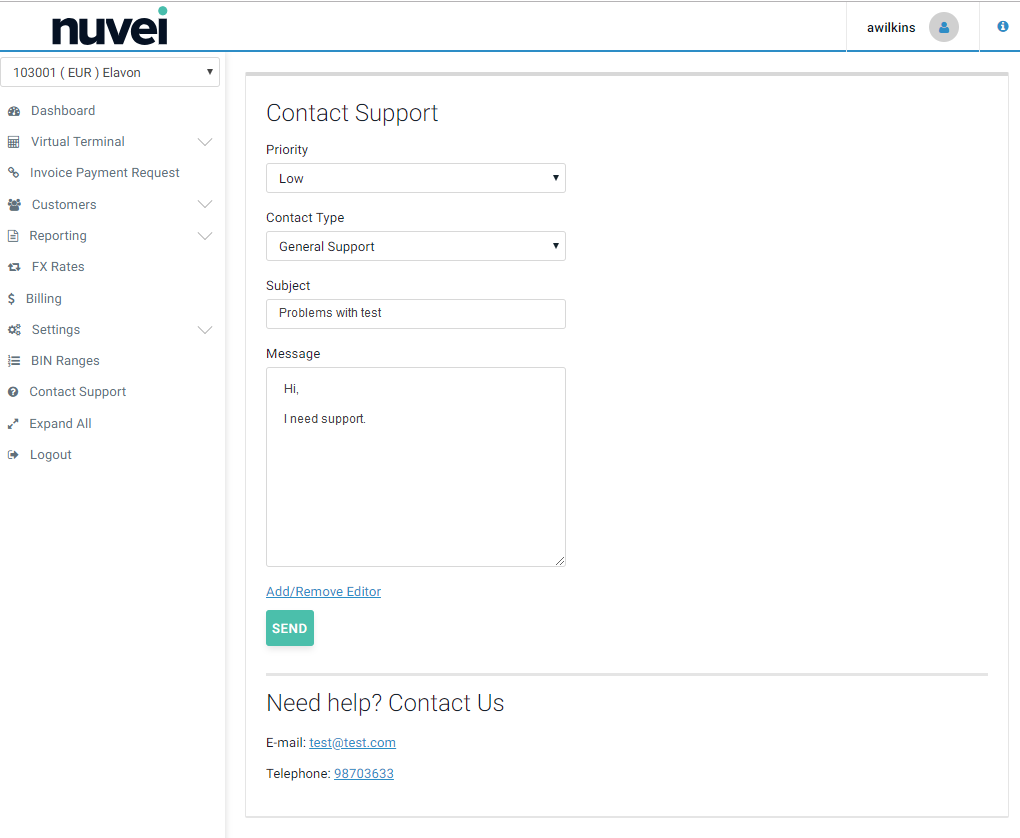
Then put the subject and enter the text of your message. When you click on the “Send” button, your message will be sent to our Customer Support mailbox and a ticket number will be assigned to it.
The Customer Support team answer your query as soon as possible.
Expand All/ Contract All
This option can be found at the end of the left vertical menu, close to the logout option. It's a link control to expand or collapse all the menu option, making easier to an user to explore the menu options.